Windows 11 lets you create multiple desktops while using only one monitor. Here are my favorite strategies for taking advantage of this feature and upping your productivity IQ.
1
Separate Roles by Workspace
If you rely on your main PC for both work and play like I do, it can be challenging to move from one usage case to another. After all, it’s the same machine where I can turn on Netflix or Steam, and they’re constantly tempting me.
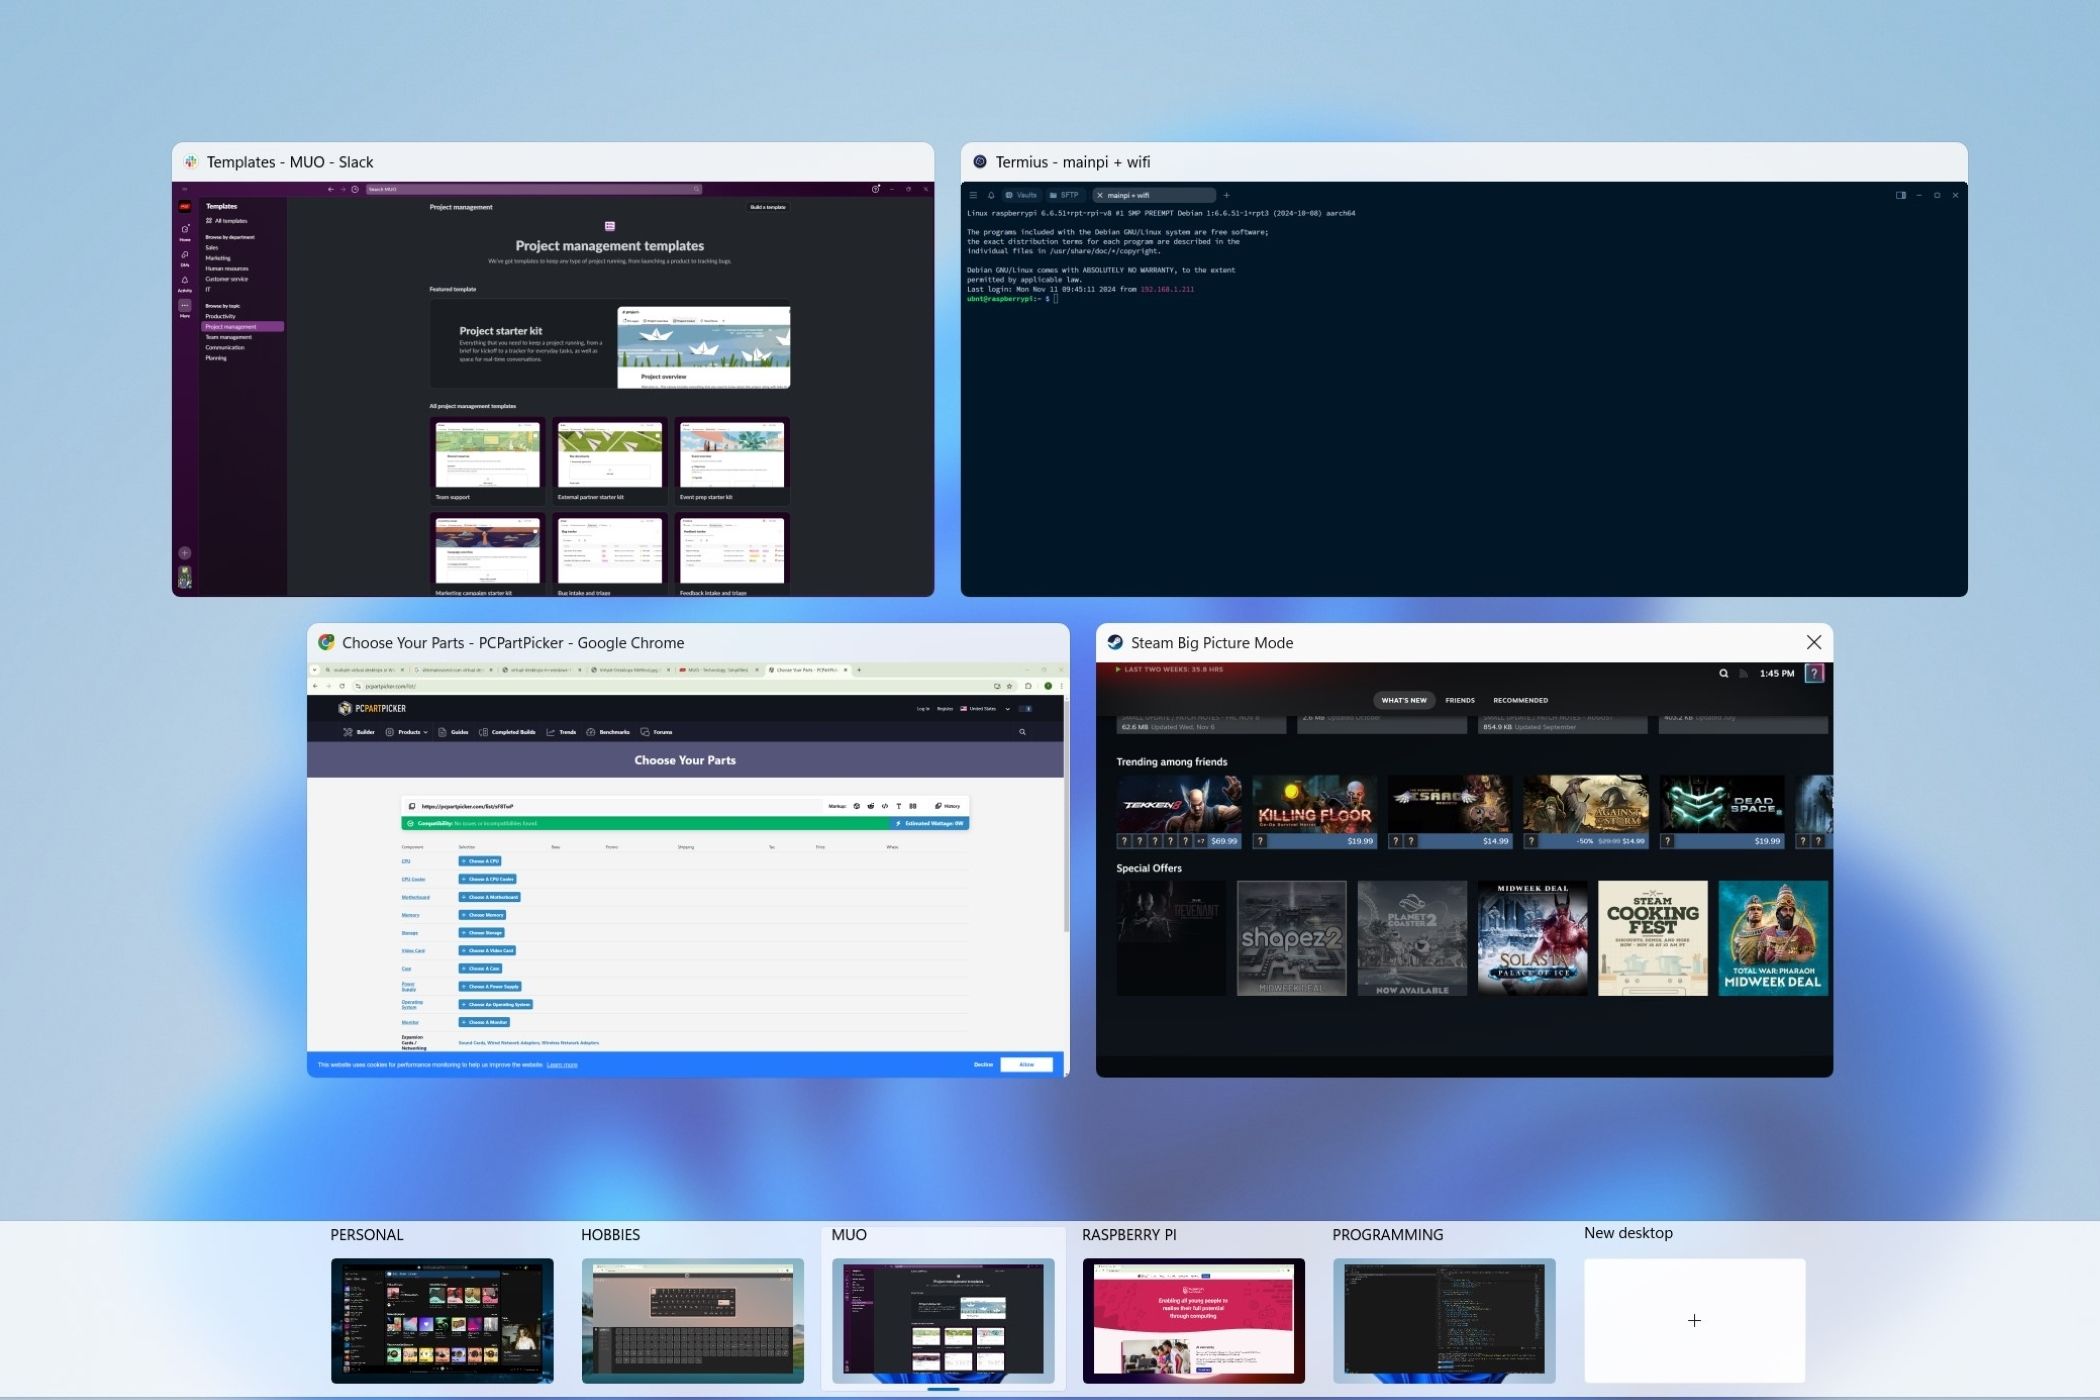
Creating multiple desktops in Windows solves this distraction problem by letting you designate workspaces for each role you play in life. I have virtual desktops created for my personal life, hobbies, and work.
By organizing tasks with virtual desktops, I can get into different mindsets. You might have other roles you want to sandbox, too, like being a Scout leader or a dungeon master.
I also find it helps to set different wallpapers for each desktop. To do this, I bring up the Task View, right-click the virtual desktop, and select Choose background. That way, I can quickly distinguish between desktops.
By separating my roles, I’ve trained my brain to get in the zone. Watching the trailer for the second season of Squid Game can wait while I finish my work for the day.
2
Save Workflows in Custom Workspaces
I’m a part of multiple organizations, and they all use different communication channels, apps, and portal logins. I found myself wasting a lot of time reopening and repositioning my apps every time I wanted to switch gears.
The easiest answer was to create a separate desktop for each organization. I have a virtual desktop set up as the master organizer, which has my weekly planner open at all times. My other desktops are dedicated to one organization each.
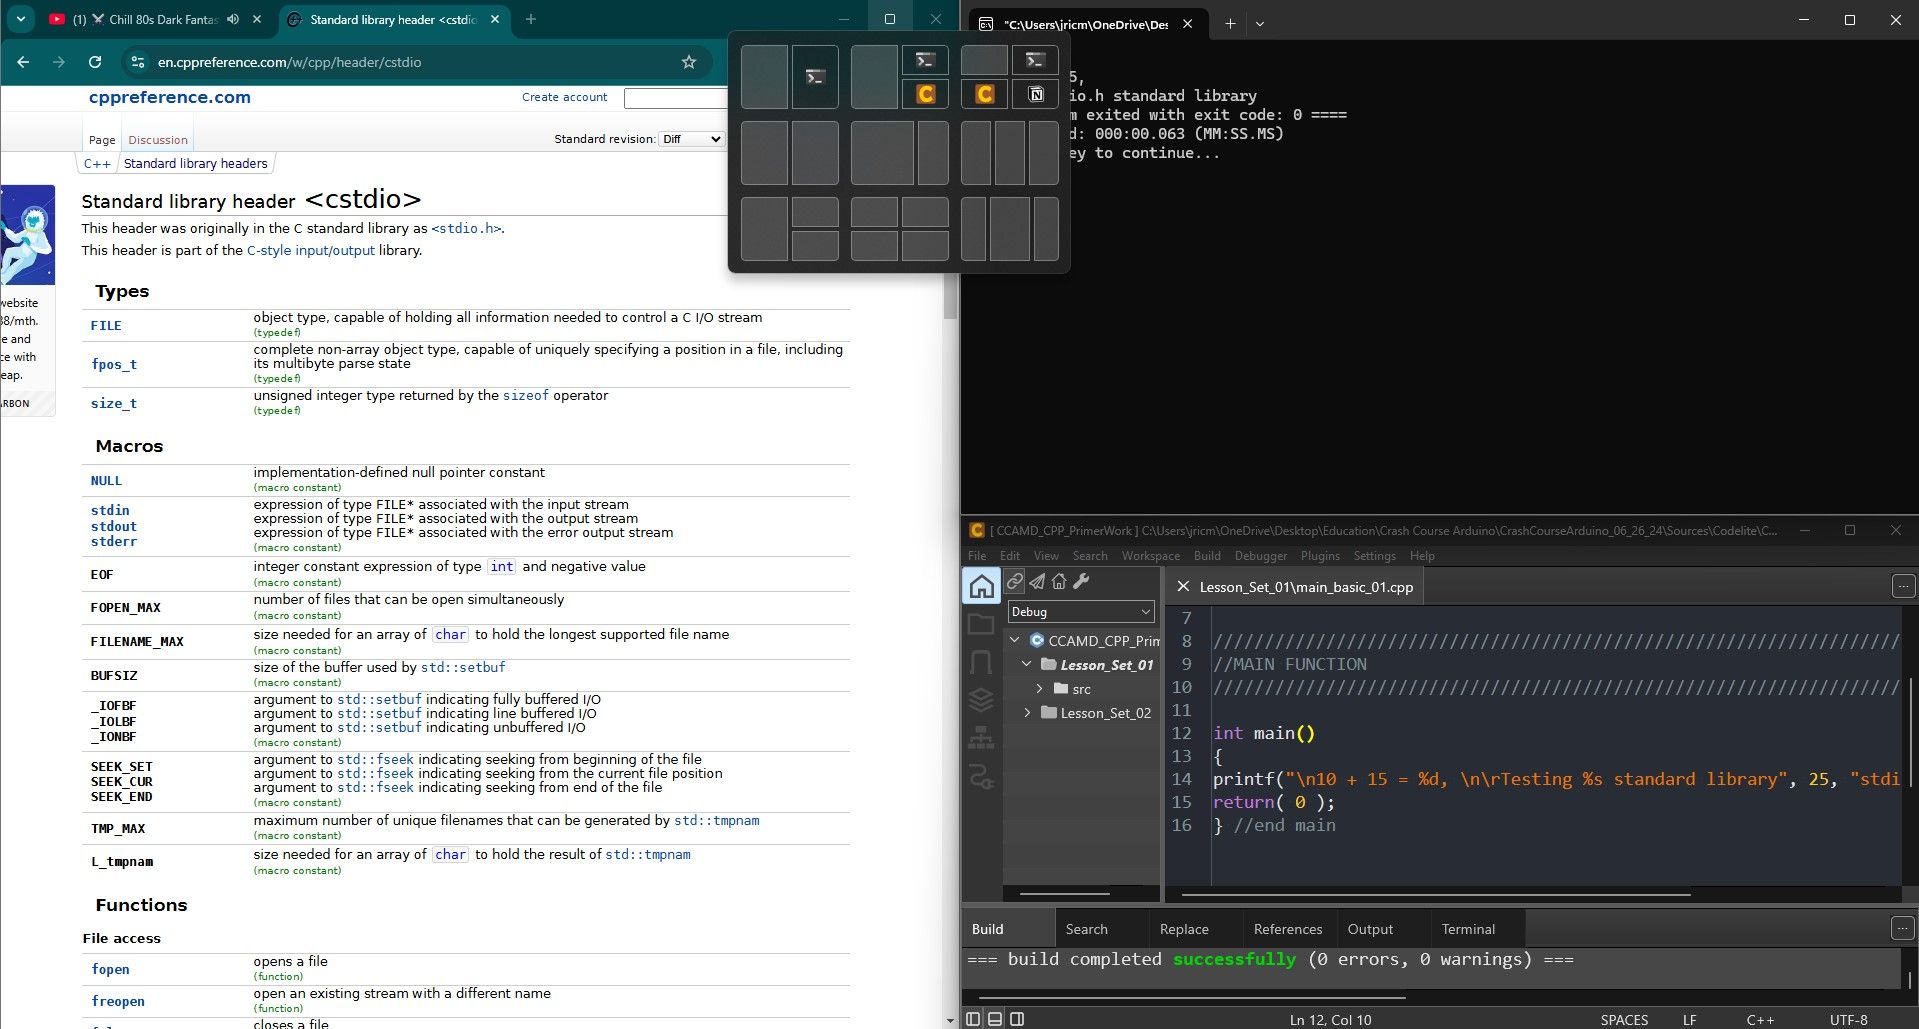
I have a custom workflow saved for each so that I’m always set up to be efficient. To multitask better, you can also enable snap layouts in Windows 11 to quickly organize workflows for whatever apps you’re using.
Unfortunately, there’s no way yet to get those custom workflows to reload perfectly if you shut down. So, I don’t close my programs or turn my PC off. However, I do use the Sleep function often.
There’s a reason 16GB of RAM is the new standard for Windows PCs, and this should be enough memory for you to leave all of your workspaces open.
3
Create Workspaces Per Environment
This one’s for the programmers out there or anyone looking to install virtual machines on Windows. I know I can get easily frazzled if I’m looking at different code snippets and terminals at the same time. Sometimes, I even enter commands into the wrong shell because they look so similar.
You can prevent mixups by segregating each environment you’re working on into its own desktop. One desktop can have your Ubuntu virtual machine, while another holds your Microsoft Azure deployment.
It sure beats having to explain to your boss why you deleted a database from production because you thought you were looking at the test server.
4
Track Projects Using Workspaces
When you’re working on a hobby build or managing any project, inertia can often take hold. You might not even realize that the friction is caused by getting your mind back to where you were in the process. Sometimes, you need to open a spreadsheet to check on the status or go find a bunch of diagrams again.
You can kick your brain into gear faster by creating separate desktops for each project. Instead of closing everything when you’re done, just leave everything open as a scattered mess.
The next time you want to resume working, switch back to the designated workspace. Because you didn’t close anything, you’ll be ready to jump back in right where you left off.
I love how valuable this technique is when I’m building a new PC for friends or family. I keep my build list open on PCPartPicker, a progress tracker with Obsidian turned into a Kanban organizer, and browser tabs open for research on different PC parts.
When I find time to resume, I switch over to this desktop, and I’m back in the thick of it. It’s handy for Christmas or birthday shopping, too.
In the past, workspace switching was more commonly associated with Linux desktops. But now they’re a default feature on Windows, and they’ve only gotten better with each update. Enhanced virtual desktops might be the Windows 11 feature that makes you finally ditch Windows 10.


